Showing posts with label Portsmouth. Show all posts

Thursday, June 20, 2013

Raspberry Pie

Yet another dessert I made last week! This is the last recipe, but one of the most special.  It's my husband's Grandma's recipe for raspberry pie.  I've taken a few liberties with her original recipe, though.  I hope she'd approve!
First of all, I start with a pastry crust instead of a graham cracker crust.  Just a matter of preference... I think pastry crusts hold up better to make pretty slices :)


Here are the other two ingredients I've changed.  Truwhip is a 'healthier' (everything is relative), gluten-free version of CoolWhip. Michael's Grandma had raspberry bushes from which she (or Michael) would pick fresh berries for her pies.  I don't have the same luxury, so I use frozen.  Just make sure to thaw them before folding them into the filling. The best part of using the frozen raspberries is that they make the pie a pretty pink color... my husband doesn't appreciate this marvel as much as I do...

Here is my/her recipe:

Ingredients:
1 prepared pie crust (pastry or graham cracker)
1 bag of small marshmallows (her recipe calls for 30 large ones, but I think the little ones melt easier)
1/2 Cup milk 
2+ Cups fresh (or frozen and thawed) raspberries
1 tub of Truwhip (or Cool Whip if you must) thawed

Melt the marshmallows with the milk over a double boiler....


This can take a little time, but again, the process is helped along by using the little marshmallows.

Keep stirring....


Oh thank goodness, my arm was cramping (just kidding... maybe)... 

Allow the melted marshmallows to cool.

Fold the Truwhip and marshmallows together. 
Fold in the thawed (if a lot of liquid comes from the berries, drain them a little) raspberries.
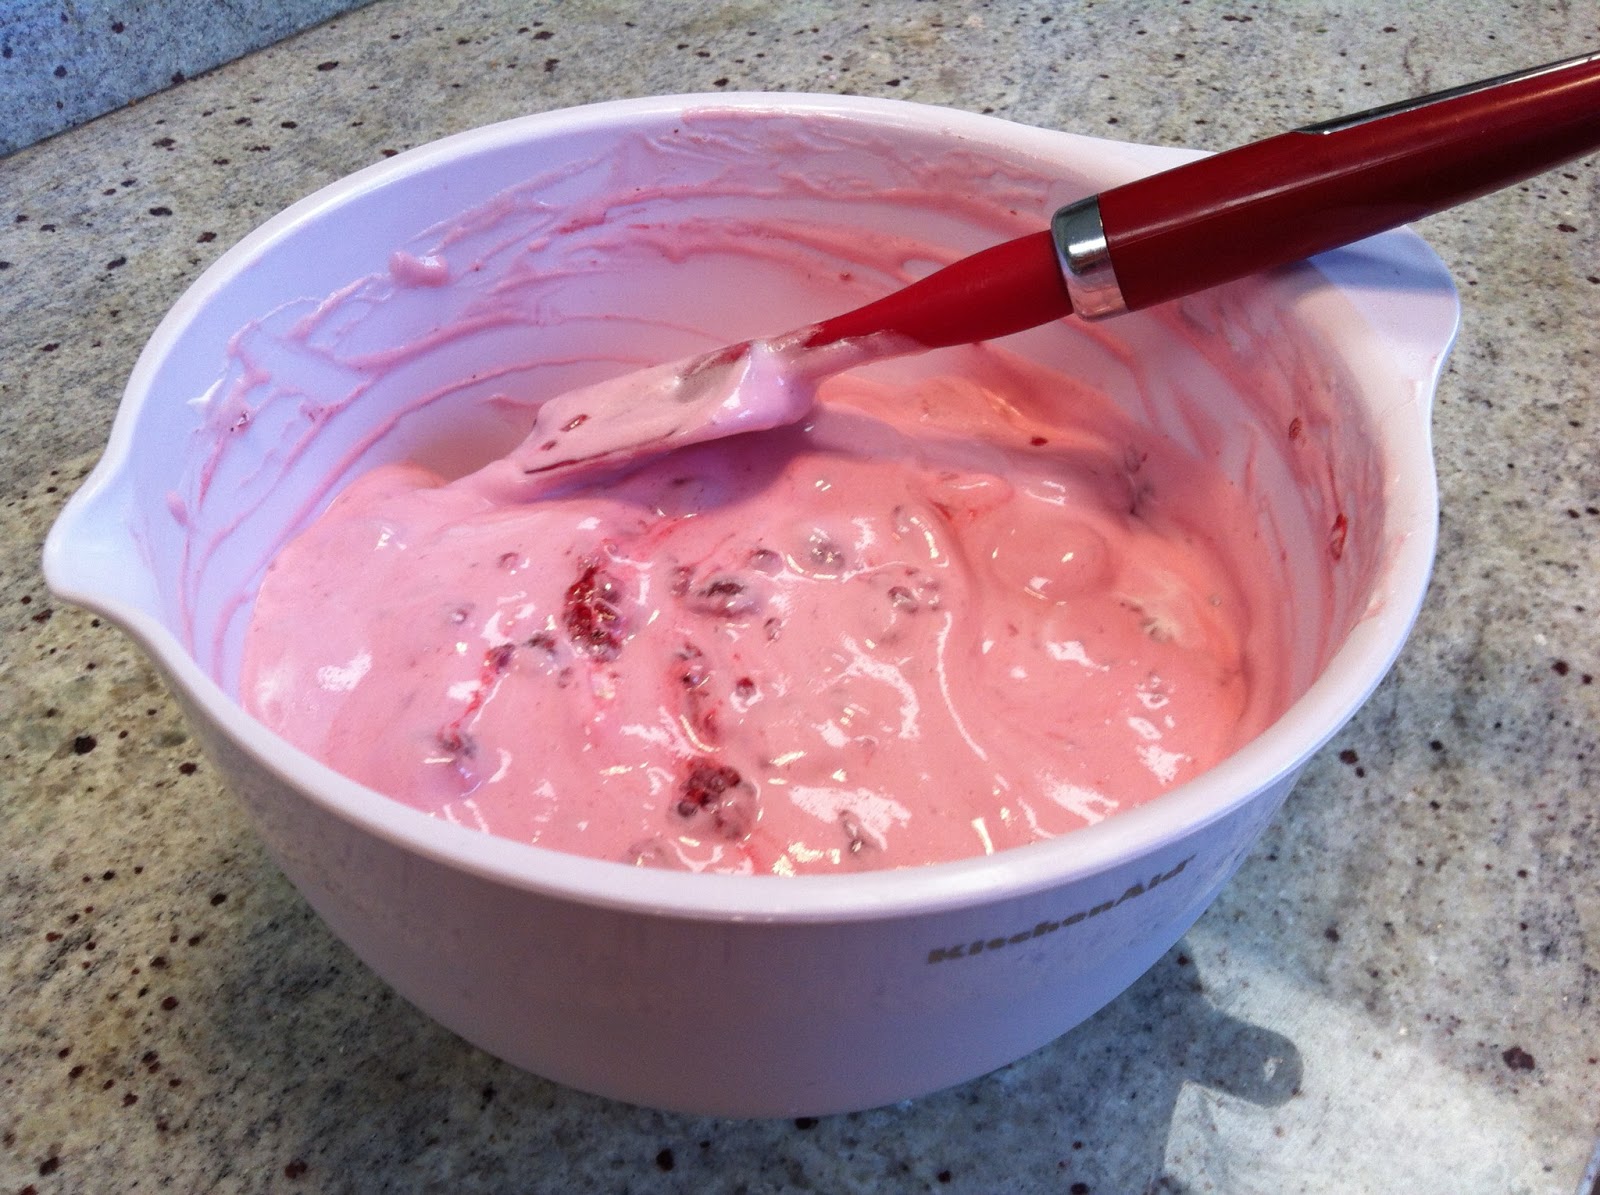


Pour the filling mixture into the baked pie crust.  Refrigerate for a few hours before serving cold.


Yummy!!


Tuesday, June 18, 2013

Key Lime Pie

Last week I also made a key lime pie. Y'all are probably wondering who ate all of the desserts (Rum Cake, Peach Cake, and Raspberry Pie) I made within the past few days.  Actually, you probably don't really care, but I'll tell you anyhow :)

Last weekend was the family reunion of my mother's paternal side, The Peeples. No family reunion would be complete without tons of southern food, so I happily handled most of the desserts. Others brought things like pimento cheese, boiled peanuts, and South Carolina BBQ. I was in food heaven... or maybe a food coma... what I'm trying to say is that I should probably be juicing more! Oh wait, I live in a hotel room... more on that later!

Getting back on track- This was the only dessert I made that didn't come from my own recipe or a family recipe, simply because I don't think it gets any better than Emeril's Recipe.  Its the perfect balance of creamy and sweet and tart and crunchy.  Here are a few photos from when I made this yummy pie!

Graham cracker crumbs, sugar and melted butter mixed together


The crust before baking


The ingredients for the filling (it really doesn't get any easier than this!)

Sour cream mixed with powdered sugar

The finished pie! MMMMM!

Sunday, June 9, 2013

The Best Pasta Salad

Yesterday, my husband and I had some of his fellow medical student friends over to my parent's house to have dinner and hang out.  Because there was going to be about 15 of us total, we decided to just order pizza from a local place called Y Not.  It's close by, quick, and delish.  

However, I still wanted to have some other things on hand to snack on before the pizza arrived.  So I made a Glazed Summer Sausage, and a big batch of pasta salad inspired by this Pioneer Woman recipe. I must assert, though, mine is better!  I'm finished being humble now... here's how you make it.

The Dressing:
2/3 Cup of mayonnaise (or veganaise if you have it)
3 tsp white sugar
2 Tbs sweet and spicy pickle juice (plus more if needed to thin out the dressing)
1 Tbs red wine vinegar 

Whisk all the ingredients together.  Give it a taste.  Add sugar or pickle juice if it is 'missing' something.


Chop one purple/red onion

Chop up six of the sweet and spicy pickle spears (the same ones that you used the juice from in the dressing).  I used a brand called Famous Daves Signature Spicy Pickle Spears, and they were outstanding! I think it makes all the difference in the world to use yummy, flavorful pickles and pickle juice in this recipe.


Dice up two green bell peppers.  You could use any color you like, but I like the green ones in this salad.


Doesn't that look pretty? Pickles and onions and green pepper... yum.


 Next you toss it all together with cooked pasta that has had time to cool down.  I used Dreamfields Penne to up the nutritional value of this dish a little bit.  I probably used about 16 oz, which is slightly more than one box.  It is all about preference, though... You might want more veggies or more pasta or more dressing.  This ratio was pretty spot on for me (and our guests)! Enjoy!


Thursday, June 6, 2013

Chess Pie

My husband and I were lucky enough to have dinner with some of my family tonight, so I thought I should share a tried and true family recipe.  More specifically my paternal Grandmother's recipe for Chess Pie.

For those not from the south, the name for Chess Pie is arbitrary.  There is no "chess" that goes into this pie, but my family still jokes about the "baby Chessies" that must ripen before pie can be made.  It is basically a buttermilk pie.  Somehow, my pie never turns out quite as good as Grandmother's (why is that always the case with passed-down recipes???), but it's a crowd pleaser none the less.


Ingredients:
1 Stick of Butter
1 1/2 Cups of Sugar
4 Tbs Flour
3 Eggs
1 Cup Buttermilk
1 Tsp Vanilla Extract (I'm a wild child with the vanilla and usually use 1 Tbs... don't tell Grandmother!)

Preheat oven to 350 degrees.

Cream butter and sugar.  Add flour. Whisk in eggs, then buttermilk and vanilla. Pour into prepared pie crust... today I used a refrigerated store bought (again, don't tell Grandmother!) one, but I would usually make my own.  Remind me to share that recipe someday...

Bake for 45 minutes to an hour... until the filling is no longer very jiggly.  Cool on a rack to room temperature  before serving.

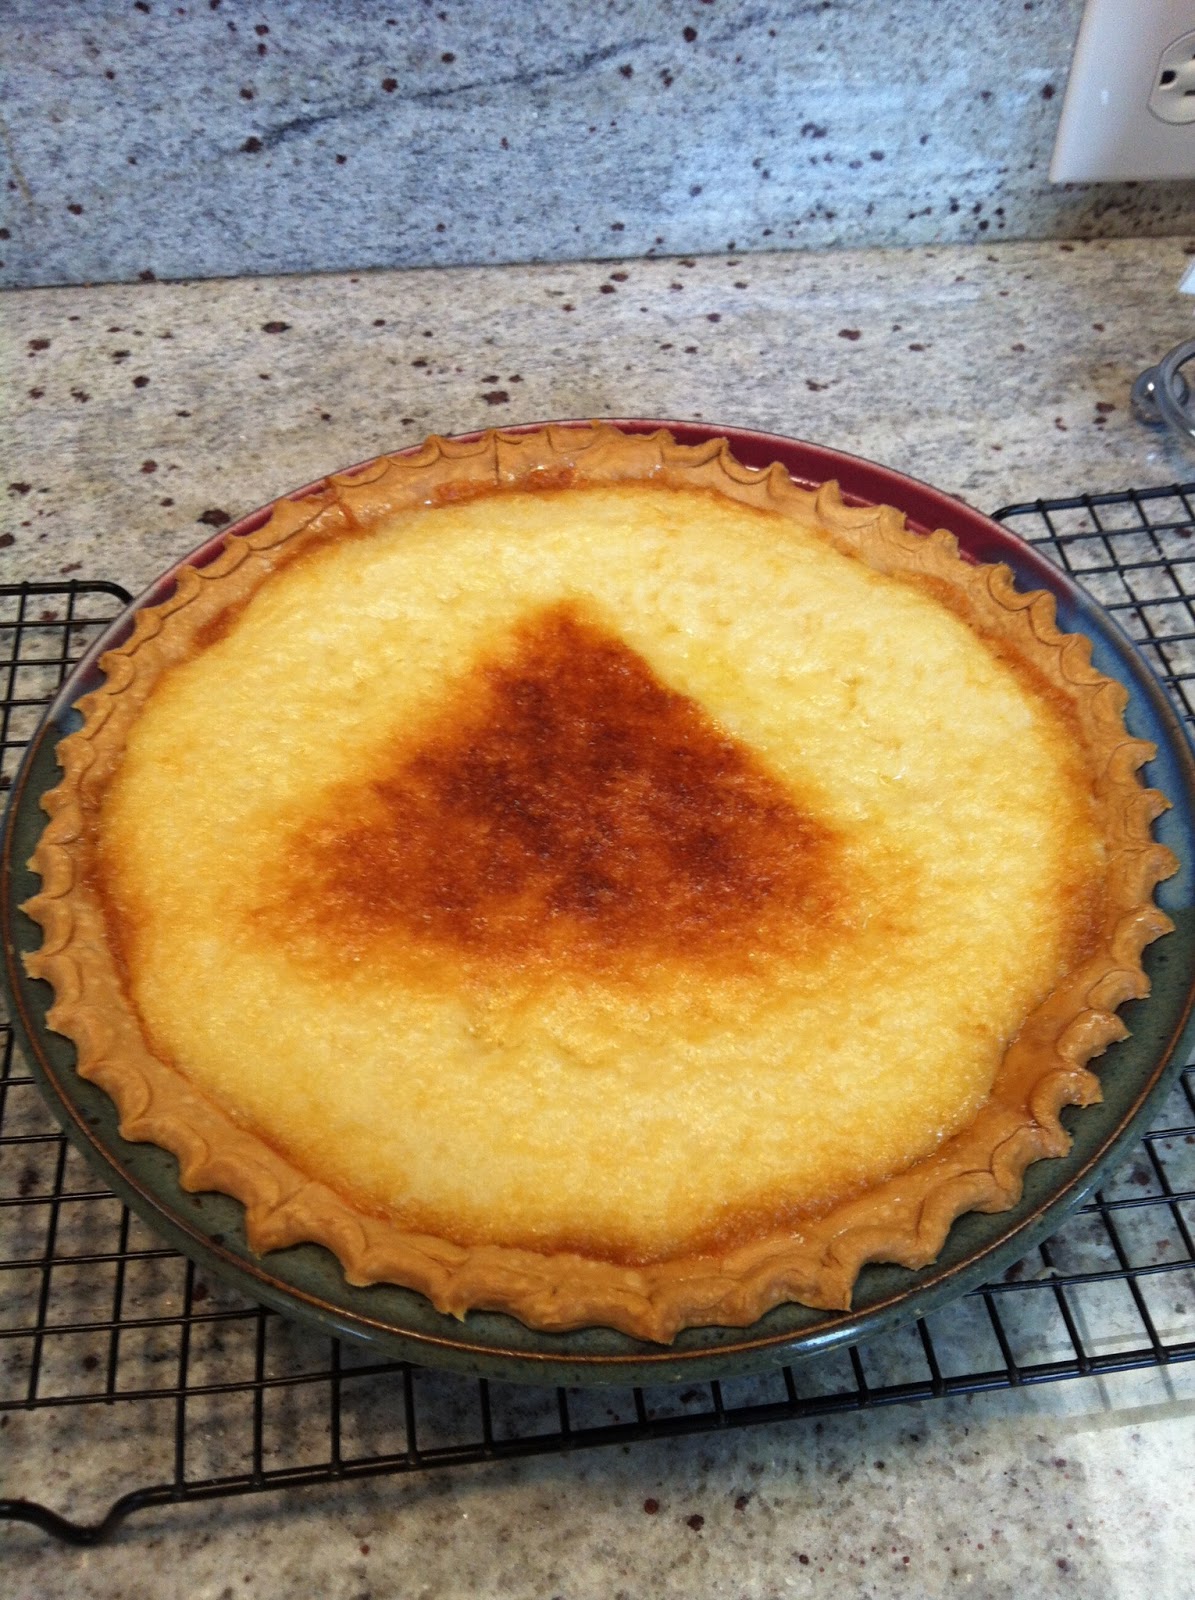
 Don't be like me... I was a little over-zealous with the tin foil that I used to protect the crust from burning.  Hence the 
triangle of browned pie filling in the middle.  No one eating the pie complained, though!


UPDATE:  I made another chess pie a few days ago, and it turned out much prettier than the one above.  Here's proof!

Actually, this one is only marginally prettier, but at least it doesn't have the "devil triangle" (my mother's description, not mine... I'm not entirely sure what is devilish about a triangle...) browned on the top like the other one!

Friday, May 31, 2013

Bourbon Glazed Salmon

I have taken full advantage of having my mother's kitchen nearby.  "Full advantage" meaning that I've cooked four meals there in the past three weeks, but that's only because we've been lucky enough to go out to restaurants, head down to Florida for a couple of days, and have some suppers that my mama fixed.  I think I've justified my behavior enough now, right?

This morning (because that's when I have free time over at my parent's home) I baked a beautiful wild caught sockeye copper river salmon filet. This (superior) type of salmon can be hard to find, so when I saw the huge fillets at Costco of all places, I got super excited.

Here is an approximated version of my marinade/glaze (makes enough for 2 large salmon fillets):

-2 Tbs grated fresh ginger (or you can buy this wonderful product that comes in a tube and makes life easy)
-8 Cloves fresh garlic, minced
-1 Tbs vegetable oil
-2 Tbs honey
-2 Tbs hosin sauce
-2/3 Cup low-sodium soy sauce
-1/3 Cup water
-1 Cup bourbon (I usually use Jim Beam)
-1/2 Cup of brown sugar, packed
-Sriracha to taste (I use about 2 tsp)
-1 Tbs lime juice
-2 Tbs sesame oil
-8 Green onions finely chopped

Saute the ginger and garlic in the vegetable oil over medium heat in a sauce pot for a minute or so.  Then add all ingredients except for the sesame oil and the green onions. Turn up the heat to medium-high and bring the mixture to a bubble for at least 5 minutes or until it begins to thicken.  Taste to make sure its to your liking (sweetness, saltiness, etc), and adjust as necessary.  Turn off the heat and add the onions and sesame oil. Pour the glaze into a bowl to cool.

After the glaze has cooled-1) Place salmon fillets in a large plastic zipper bag and pour the glaze over them to marinate for a few hours... this is a delicious idea if you have the time, but ultimately, not necessary. 2) Place the fillets on a foil lined baking sheet with raised sides, pour the glaze over them, and bake at 420 degrees for 15 minutes or until the fish flakes (this is dependent on how thick your fillets are). 3) Remove from oven and allow to rest for a minimum of five minutes... as you wait, you can baste the fillets with the glaze that has pooled in the pan.

This is the final product:


*Note* you can use whichever type of salmon you prefer in this dish, but just remember there really is a big difference between the varieties (Sockeye vs. Atlantic, farmed vs. wild caught). Find something you like!


Thursday, May 30, 2013

Furniture

A couple of things in my life collided during the past few weeks:

1) My affinity for pretty coordinating furniture.

2) My parent's beaten-by-who-knows-how-many-moves furniture.

3) My desire to try new things/tackle new projects.

For those who haven't guessed yet, all of this adds up to me refinishing my first piece of furniture! It will definitely not be my last piece because (for the most part) I really enjoyed the process.

Here are some before and after photos (because that is all anyone really cares about when reading about a project such as this one), and then I'll get to a few tips that I learned along the way.


These are not the greatest before shots, I realize, but you can see the big chip on the bottom left, general scratches and malaise, and the scarring left behind by some truly heinous hardware.

 Close up of the brass hardware... I think I thought it was pretty when I was a toddler. Maybe.
No more scratches, a little darker (to coordinate with my parent's other furniture), and much more contemporary hardware.


 No more chip!


Ok, so this was obviously more akin to a face lift than an extreme make-over (although much more than a couple of Botox injections, if I really need to take this metaphor any further), however, there was a bit of a learning curve to get here.

Products needed:

Citristrip (I liked this product because of the lack of fumes)
Metal Bowl
Plastic Drop Cloth
Odorless Mineral Spirits 
Plastic Scraper
Coarse Stripping Sponges
Fine and Coarse Sandpaper
Paper Towels
Paint Brush (and/or foam brush)
Stain and Polyurethane (or a combination product such as Minwax Polyshades)
Stainable Wood Filler
Putty Knife
Gloves
Mask/Eye Protection for sanding

Things I learned:

-Stripping furniture is messy: have plenty of plastic grocery bags and paper towels available.
-Odorless Mineral Spirits will clean pretty much anything if the mess gets out of hand.
-Minwax Polyshades is a finicky product, and next time I think I'll stick to separate stain and polyurethane products.
-If you must use a combination stain/polyurethane product, foam brushes produce a better result than bristle brushes.
-Hand sanding takes a lot of muscle power... become ambidextrous if at all possible (or get an electric sander... but where is the workout in that!?)
-Cooler weather is better when you are refinishing furniture in a garage

If I remember any other gems, I'll be sure to pass them along!


Tuesday, May 28, 2013

The Little Things

We have stayed at a wide array of hotels so far this year.  They have ranged, in my opinion, from mediocre to downright sad.  I have never had a propensity for motels, despite my mother's warnings that being a "hotel snob" was not an endearing quality. However, my standards have yet to be lowered (and perhaps may be reinforced) by the exterior hallways and poor temperature controls that plague the Army, Air Force and Navy lodging.

My expectations, which were realistically low in January, have now become non-existent.  This jaded mentality has been one of the best additions to my repertoire of military-medical-student's-wife tricks to get through anything with a smile on my face.  Now, the little things that would normally make my day a little better seem downright magical.

Example: The Keurig

Anyone that was around when we began receiving wedding gifts last year knows that I raved about a little coffee-making appliance called the Keurig. I was so enchanted (read: caffeinated) that I convinced nearly everyone in my vicinity to buy one.

Mine was this dainty little model...

Then, when it came time for the storage unit to steal all of our belongings for the year, the Keurig (along with my caffeine habit) and I parted ways... until we moved into the Navy Gateway Inns and Suites in Portsmouth, VA, two weeks ago! I saw this little beauty when we walked in:


As an added bonus, housekeeping leaves the tray to the right of the Keurig stocked with k-cups at all times. I don't want to lose ground in my fight against caffeine, so I've stuck to the decaf and black tea options for now... but I have the feeling that another 5 AM morning in the near future might cause me to relapse. It's a slippery slope...

But for now, I'm keeping it positive and enjoying being reunited with one of my favorite appliances. Enjoy the little things everyone!