Labels

Showing posts with label Cooking. Show all posts

Sunday, September 8, 2013

Garlic Veggie Pizza

This is my new favorite pizza of all time. Forever. No matter what.

Actually that is probably not true at all, but this pizza is REALLY good! I made it with my MIL when I was in FL this past week, and she liked it as much as I did (which is a lot, obviously)! 
I just thought you might want a little verification that cashews on pizza is a super idea... because it is.


First off, let me apologize for not taking process pictures.  There are quite a few steps to making this pizza as delicious as possible, and I just got way too excited to remember to take pictures. Next time, I promise!

Ingredients:
Pizza Dough*
2 heads of fresh garlic, all cloves removed and peeled
4 serrano peppers
Olive oil
1 bell pepper (red, orange or green works), thinly sliced into strips
1 tomato, thinly sliced and then placed on paper towels to help drain excess moisture
1 large handful of fresh baby spinach
Unsalted cashews, very roughly chopped
Goat cheese
Mozzarella cheese (optional)
Parmesan cheese (optional)

*Note: I used a store-bought fresh dough that I split and made into two 8(ish) inch crusts. You can make your own or buy it, but when you roll or toss the dough out, it should be relatively thin.

First, you need to prep the 'sauce' for the pizza, which will be a delicious blend of garlic and serrano peppers.

Place all of the garlic cloves in a small saucepan. Cover completely with olive oil (I know it will seem like a lot, but you can save it and re-use it as garlic oil... yum!). Turn the burner on the lowest setting and let the garlic gently cook (confit) for up to an hour or until all cloves are very tender. 

While the garlic is cooking, char the skins of the serrano peppers. I do this by turning one of the burners of my gas stove on a low setting and placing the peppers over it. Then, using metal tongs, I turn the peppers until the entire exterior is charred. I then place the peppers in a bowl and cover with plastic wrap for a few minutes, until they are cool enough to handle.  This also allows them to steam a little so that the skins are easier to remove.  Then, I remove the skins from the peppers and slice them in half lengthwise so I can remove all the seeds. Scraping them out with a small spoon makes it a quick process and saves your fingers from the hot part of the pepper.

Now that the garlic and peppers are ready, place all of them into a blender with a tablespoon of olive oil. Puree until smooth.  At this point, you can mix as much goat cheese as you like (I'd recommend 2-3 Tbs) into the garlic/pepper mixture, or you can leave the goat cheese separate to sprinkle onto the pizza in chunks. Personally, I recommend the mixing.

Now for assembling the pizza! 

1) Garlic 'sauce' (you should use all of it on two 8 inch pizzas)
2) Goat cheese if you didn't add it to the 'sauce'
3) Mozzarella (optional)
4) Sliced peppers
5) Sliced tomatoes
6) Spinach
7) Cashews
8) Parmesan (optional)

After putting your desired amount of these ingredients on your pizza in this order (pretty important), place the pizza in a 425 degree oven for 12ish minutes, or until as golden brown as you desire.... just don't let your cashews get too toasty!

Let it rest for a minute or two after it comes out of the oven if you can... I couldn't resist slicing right into it. Heavenly... 


Where the Heck Am I?

This thought pops up in my head rather frequently these days... I think it might have to do with the fact that we've stayed at least one night (usually many more) in 13 hotels this year.  That doesn't include any of the homes or the 5 more hotels we will add to the list before 2013 comes to a close. Needless to say, it is occasionally difficult for me to quickly remember that we are currently living in Augusta, Georgia.

We arrived less than a week ago for my husband to begin his general surgery rotation here at Eisenhower Medical Center on Fort Gordon.  It is very hot here. Our hotel room has many pros and cons... so far, the cons have the upper hand. However, the air conditioning is working beautifully! Hallelujah!

While my husband was busy settling in at the hospital, I went down to Florida for a couple of days to visit with my in-laws. I got my cooking, wine and yoga fixes before coming back north to GA.

Although there isn't much going on in this area (so it seems to me), I am trying out a new yoga studio this week and will keep you posted :)


Saturday, August 17, 2013

Sour Cream Pancakes

Alrighty, y'all... as promised, here is my recipe for the best ever sour cream pancakes! Seriously, since I started making these a few years ago, my husband won't ever order pancakes when we go out to breakfast because they are never this good.

However, don't be shocked out of your britches by how ridiculously thick these pancakes are... we aren't making crepes here, people!!

Side note: I really hope this recipe converts some of those Bisquick or other mix users out there. It really is SO easy to make pancakes from scratch, and this way, you have total control of sodium, sugar and fat content! Also, I haven't tried it yet, but I bet this recipe would work wonderfully with gluten-free flour!

Ingredients:
1 Cup of all-purpose flour
1 1/2 tsp baking powder
1 tsp baking soda
1 Tbs sugar
2-4 Tbs flaxseed meal (optional, just to add a little more nutritional value/fiber)
1 large egg (or two egg whites)
1/2 Cup sour cream (fat free, low fat and regular all work)
1/3 Cup skim milk (plus a splash or two)
2 Tbs oil

Mix the dry ingredients and wet ingredients in separate bowls. Pour the wet ingredients into the dry and whisk vigorously for about 15 seconds, until everything is combined.  The batter should be very thick, but not doughy. If the batter seems doughy or tough, add a splash of milk or two.


Heat a skillet or griddle over medium low heat. Coat pan with a little butter or cooking spray. Add about 1/3 of the batter to the pan, and spread into a 4 inch circle with the back of your spoon.  These pancakes take a little while to cook, so be patient. Keep the heat on low/medium low and wait until bubble start to form and the edges begin to look dry before flipping.

This recipe makes 3 hearty, yet light and fluffy, pancakes... you REALLY don't need more than one! Each should end up being a 5 inch circle that is about 1/2-3/4 of an inch thick.  Serve with real maple syrup! 


Thursday, August 15, 2013

Scallops and Spinach

I mentioned in this post that cooking is one of my favorite ways to give to others.  For me it is one of the most relaxing and fun activities out there. Lately, I've been cooking at least twice a day in order to take advantage of having a kitchen again! I'll try to remember to post my recipe for sour cream pancakes tomorrow...

But right now, I'm going to tell you about the AMAZING scallops and spinach I made the other night. This recipe is inspired by a dish that my in-laws have made for us a couple times.  It is perfection.

Ingredients:
3 pieces of bacon
1 lb of large diver scallops... the bigger and more uniform, the better
3 cloves of garlic
1 Tbs. grapeseed oil
1 bag of organic spinach
1/2 of a yellow onion, chopped finely (optional)

First, take three pieces of bacon and render them in a pan over low heat. After all the fat is rendered, remove the bacon, chop it into bits and set aside. Discard all of the bacon fat except for one tablespoon.

Take three garlic cloves and mince them or put them through a garlic crusher... unless you are a Trader Joe's junkie like me and you have these little frozen cubes! How awesome are they?! Either way, over low heat, saute the minced garlic with the reserved 1 Tbs of bacon fat ('the secret' as my great-grandmother, ReRe, would've said) and 1 Tbs of grapeseed oil. After a couple minutes, but before the garlic browns, turn off the heat. If you use the onion, saute it with the garlic, but instead of turning the heat off, just turn it down to low while you cook the scallops.  The onions with get a little caramel-y and delish :)

Now it's time to get your gorgeous scallops ready! Place them on a couple of paper towels. Gently press on the top of each one (kind of like a gentle mini-massage) to dry off the tops, too.

Side note: this is probably enough scallops for 4 modest eaters, but my husband and I ate all of them! They are that good!

In another skillet, heat a tablespoon of the garlic/oil mixture over medium-high heat. When the pan comes to temperature (aka, screaming hot, but not yet smoking), sear the scallops in two batches so that they have plenty of room to breathe, and you don't crowd the pan. 3 minutes on each side should cook them through.  You want them to get really golden brown on each side before turning.

As the second batch of scallops is cooking, heat the other saute pan with the remaining garlic/oil mixture in it. Throw an entire bag of spinach in the pan and toss the leaves like you're trying to coat them with salad dressing. Turn off the heat and keep tossing until the leaves are barely wilted.


This is supper! I served some garlic roasted red potatoes with this dish, but you could do rice or nothing at all... it really doesn't need anything (except maybe a nice glass of sauvignon blanc)!

For me, the best bite is a piece of scallop with some spinach and a teensy piece of bacon. 
This should be illegal... Enjoy! 


Coping...

This list will probably evolve as the weeks keep passing, but as of right now, this is my list of best ways to cope with true loss and sadness (you can read about the loss of my cat here).

First, I would like to note that I have never been especially skilled at coping. Growing up in a Navy family, I kind of developed a "just get over it/let go/move on" philosophy to emotionally draining circumstances. Not the most healthy way of dealing with tough stuff, but it worked for the most part. In recent years, however, I've developed other techniques.  Hallelujah! (that is my husband rejoicing... he wasn't a big fan of the 'if I don't talk about it, I'm fine' method :)

1) Prayer. Anytime, anywhere! A short (or long) conversation with God really gets me moving in a positive direction with my thoughts, no matter what.

2) Yoga. For those of you that think #1 conflicts with this, think again. My yoga practice keeps me centered, positive and grateful. Not a single session goes by that I don't send up a little thank-you prayer for the gift of yoga in my life.

Lately, I have been keeping an especially consistent practice by purchasing a membership to Thrive Yoga. Getting on my mat daily allows me to work through whatever emotions I'm dealing with while I focus on breathing through poses. Oh, and it's a pretty awesome workout too... I have the bakasana and pincha mayurasana to prove it!

3) A little retail-therapy. This one isn't quite as wholesome as my first two, but it is helpful all the same. Something fun and frivolous to focus on can be a good way to get out of your own head for a bit and think about something very un-serious. Not to mention pretty :)

4) Help others. This is my FAVORITE one, and something I have trouble balancing sometimes because I thrive on it. You can help others through a tough or stressful time even though you're dealing with some tough stuff, too. Sending a card or making them a meal are my two favorite ways to help. It doesn't have to be a huge gesture to offer a huge amount of support. And once again, you're putting yourself out there in a positive way.

5) This last one is kind of a reward for doing #1-4...not that they aren't rewarding enough themselves! 


Wine... specifically Sauvignon Blanc, right now. I think that good wine can be the perfect catalyst for relaxing and reminiscing, which is what one really needs to do in order to cope with a loss. It might not be the right choice for everyone, but Kim Crawford will always have a fond place in my memory for making an absolutely awful day a little bit better for my mom and me!

Side note- During all of this coping craziness, my husband and I forgot one of our most favorite anniversaries: August 6, 2008! This was the day we met for the second time after being apart for 10 years! Here is a throwback picture of us from about 3 years ago that pretty well shows what we think about forgetting to celebrate such an important occasion...


Life happens... don't take it too seriously!

Thursday, June 20, 2013

Raspberry Pie

Yet another dessert I made last week! This is the last recipe, but one of the most special.  It's my husband's Grandma's recipe for raspberry pie.  I've taken a few liberties with her original recipe, though.  I hope she'd approve!
First of all, I start with a pastry crust instead of a graham cracker crust.  Just a matter of preference... I think pastry crusts hold up better to make pretty slices :)


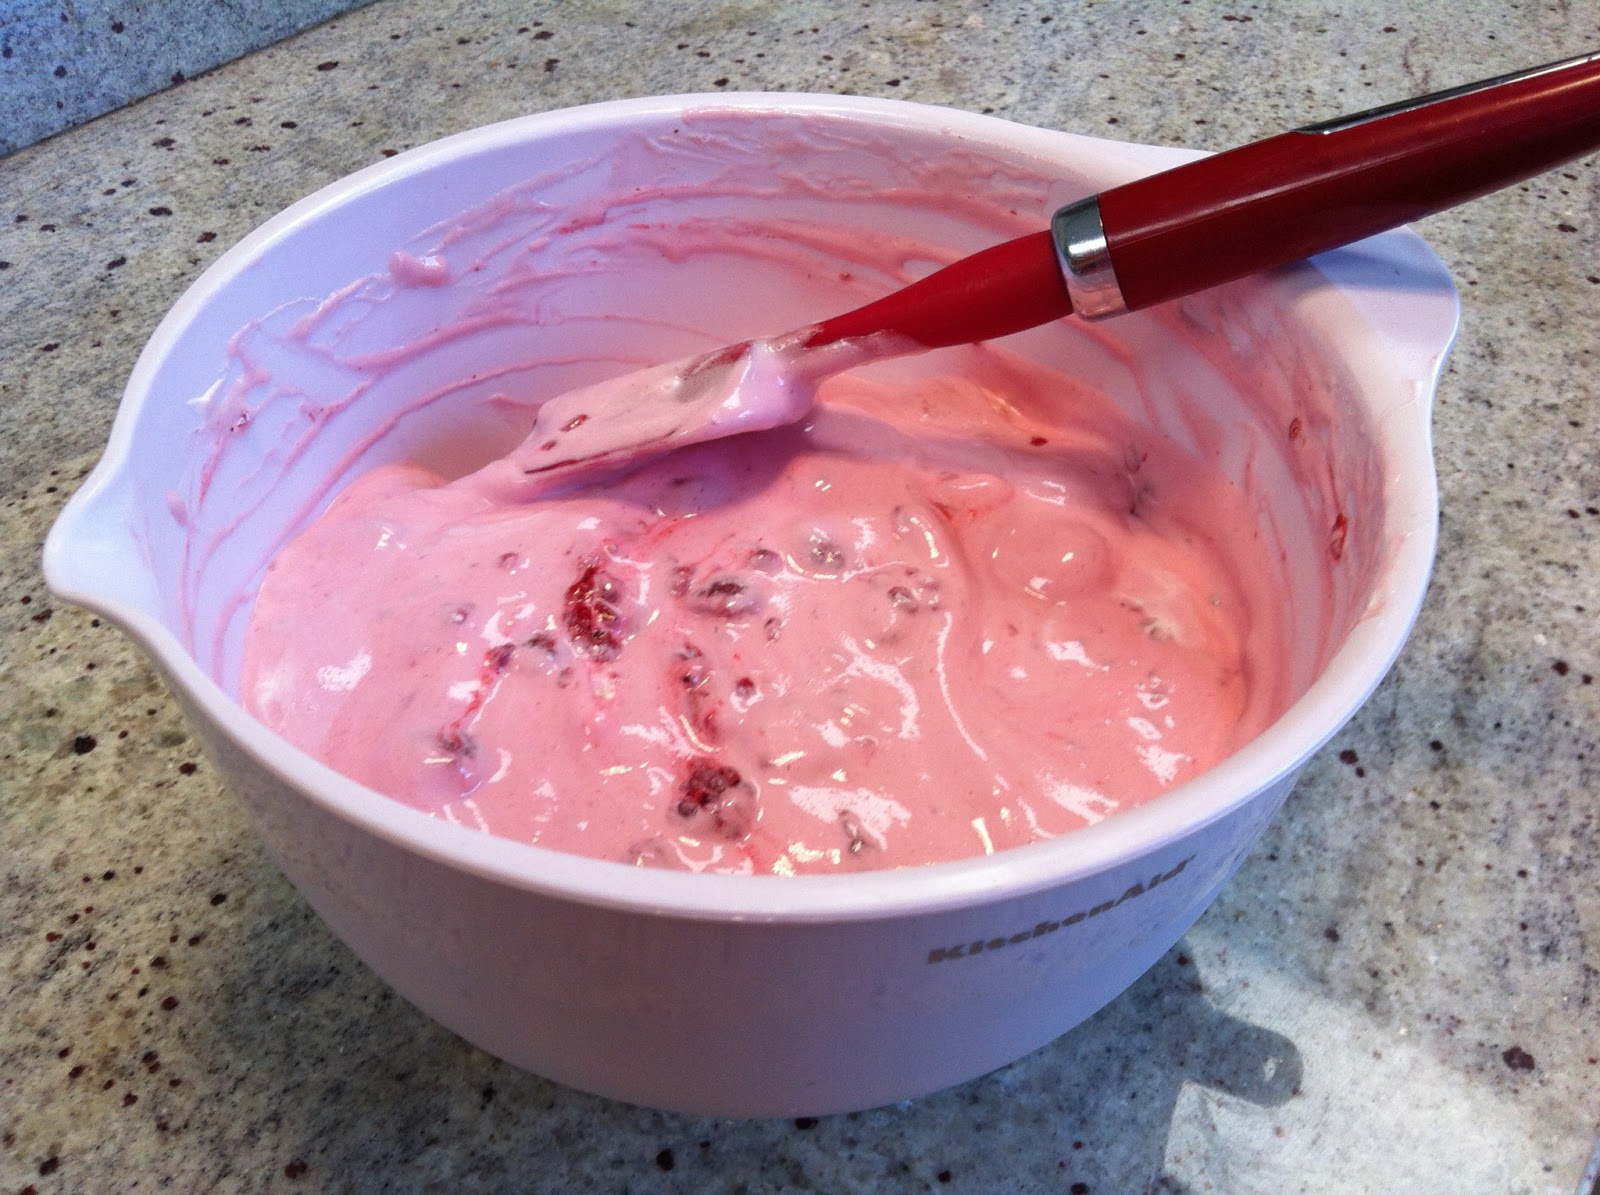
Here are the other two ingredients I've changed.  Truwhip is a 'healthier' (everything is relative), gluten-free version of CoolWhip. Michael's Grandma had raspberry bushes from which she (or Michael) would pick fresh berries for her pies.  I don't have the same luxury, so I use frozen.  Just make sure to thaw them before folding them into the filling. The best part of using the frozen raspberries is that they make the pie a pretty pink color... my husband doesn't appreciate this marvel as much as I do...

Here is my/her recipe:

Ingredients:
1 prepared pie crust (pastry or graham cracker)
1 bag of small marshmallows (her recipe calls for 30 large ones, but I think the little ones melt easier)
1/2 Cup milk 
2+ Cups fresh (or frozen and thawed) raspberries
1 tub of Truwhip (or Cool Whip if you must) thawed

Melt the marshmallows with the milk over a double boiler....


This can take a little time, but again, the process is helped along by using the little marshmallows.

Keep stirring....


Oh thank goodness, my arm was cramping (just kidding... maybe)... 

Allow the melted marshmallows to cool.

Fold the Truwhip and marshmallows together. 
Fold in the thawed (if a lot of liquid comes from the berries, drain them a little) raspberries.


Pour the filling mixture into the baked pie crust.  Refrigerate for a few hours before serving cold.


Yummy!!


Tuesday, June 18, 2013

We Made It: Seattle Edition

We arrived on the west coast this past Sunday.  I realize that this means a major event occurred two whole days ago, and I am just now getting around to blogging about it.  I realize that this makes me a bad blogger.  I'm trying to live with myself.

Now that that's settled, I can tell you all the things I love about this area so far. 

This:

This is everything.  Beautiful, tall, dark green trees everywhere. It makes me want to go hiking. 

Again with the big gorgeous foliage! Good gracious!

So basically, I can confirm that the Northwest is as picturesque as the Twilight movies, Grey's Anatomy and Sleepless in Seattle led you to believe.  Oh, and the temperature has been hovering around 60-70 degrees.  In June.  This southern girl is having a tough time comprehending that part.

Onto other things I love about being at Fort Lewis!

Our rental car:

Long story short, the Enterprise rental place was running really low on compact cars, so they upgraded us to this 
Volvo XC60. It is super easy to drive and comfortable and has AWD just in case I decide to do something outdoorsy (unlikely, but you never know... I'm in the northwest now!).

The gym, Jensen Family Health and Fitness Center, has free yoga classes 4 days a week! They also have TRX at another gym on post that I am looking forward to trying out!

Einstein Brothers Bagels has two locations on post... this is a major upgrade from the usual restaurant options on military installations (read: McDonalds and Burger King).

Our hotel room at the Rainier Inn is the best we've had thus far, for several reasons.
          - The building was built in 2007
          - There is a kitchenette with two burners, which means I can cook! And I did:

We had seared U10 scallops, risotto, and peas for dinner tonight.  A little fancy for paper plates and no dinner table, but that almost made it taste better... almost :)  Last night we had this pasta dish.

            - The shower maintains a reliable, appropriate temperature.
          - There is free WIFI
          - There is free breakfast downstairs every morning

I am sure there are more things that I love about this area, but right now, I am falling asleep.  Either due to jet lag or the early mornings. Probably both... I can't decide right now.


Key Lime Pie

Last week I also made a key lime pie. Y'all are probably wondering who ate all of the desserts (Rum Cake, Peach Cake, and Raspberry Pie) I made within the past few days.  Actually, you probably don't really care, but I'll tell you anyhow :)

Last weekend was the family reunion of my mother's paternal side, The Peeples. No family reunion would be complete without tons of southern food, so I happily handled most of the desserts. Others brought things like pimento cheese, boiled peanuts, and South Carolina BBQ. I was in food heaven... or maybe a food coma... what I'm trying to say is that I should probably be juicing more! Oh wait, I live in a hotel room... more on that later!

Getting back on track- This was the only dessert I made that didn't come from my own recipe or a family recipe, simply because I don't think it gets any better than Emeril's Recipe.  Its the perfect balance of creamy and sweet and tart and crunchy.  Here are a few photos from when I made this yummy pie!

Graham cracker crumbs, sugar and melted butter mixed together


The crust before baking


The ingredients for the filling (it really doesn't get any easier than this!)

Sour cream mixed with powdered sugar

The finished pie! MMMMM!

Monday, June 10, 2013

Rum Cake

This is the other cake that I made today (my mother and I are trying to get a head start on cooking for our family reunion that is coming up this weekend). It's much simpler to make than the Peach Cake, but has even more nostalgia associated with it.

This is one of many original recipe cards written by my great-grandmother, ReRe. She became known for making this cake, and therefore transcribed the recipe (complete with the note about instant vanilla pudding mix: "the kind you don't cook") for many friends and family members.  I love this recipe so much that I baked about 100 miniature cakes to give away in the gift bags at our wedding last summer.  So, thanks ReRe for your awesome Rum Cake recipe.  I miss you!


Ingredients:
1 Box Yellow Cake Mix*
1 Box Vanilla Pudding Mix
1/2 Cup Rum
1/2 Cup Water
1/2 Cup Oil
3 Eggs

*the quantity in boxes of cake mix has decreased since ReRe first wrote this recipe, so I added an additional 1/3 Cup or so from another box of yellow cake mix I had on hand.  However, I think the cake would turn out just fine as is... I was just being cautious.

Preheat the oven to 350 Degrees.

Mix the cake mix and pudding mix together in a bowl with a whisk.  Stir in the rum, water, and oil.  Beat in the eggs one at a time, stirring well after each addition.

Pour the batter into a oiled (or buttered) and floured tube or bundt pan.  Bake for 50 minutes to an hour or when a toothpick inserted into the cake comes out clean.

While the cake is baking, make the rum glaze.


Ingredients:
1 stick (1/2 Cup) butter
2/3 Cup Rum
1/3 Cup Water
1 Cup Sugar

Place all ingredients in a saucepan and bring to a bubble over medium heat. Remove from heat.

After allowing the cake to cool for 10 minutes in the pan, turn it out onto a sheet pan with raised edges.

Poke small holes all over the top of the cake using a toothpick.  Slowly spoon the glaze over the top of the cake.  Allow to cool completely before serving.

*Note: This cake only gets better with time.  I always make it at least one or two days ahead of when I want to serve it.


Peach Cake

Two things:
1) This was my most successful attempt thus far at remembering to take process photos throughout a recipe... enjoy!
2) This cake is so incredible... enjoy!

Peel about 10 peaches, savoring the scent as you go... this reminds me of summers at my maternal grandparents' home in Greer, SC.  There are many peach orchards nearby, so nearly every morning when I would walk into the kitchen the sweet scent of freshly cut peaches would welcome me.  Basically, if you have yet to experience the fragrance of fresh peaches, y'all are missing out big time! 
Anyways, cut the fruit off of the pits.  Reserve 1/2 Cup of the peaches.


Dice up the rest of the peaches (should yield about 2 cups, give or take a little).


Now you have all of your ingredients for this lovely cake!
3 Cups Flour
1/2 tsp Baking Powder
1/2 tsp Baking Soda
2 Sticks (1 Cup) Butter
1 3/4 Cup Sugar
4 Eggs
2 Vanilla Beans (the caviar scraped out)
1 Cup Sour Cream
2 Cups Peaches

Preheat the oven to 350 Degrees.


Sift the flour, baking soda, and baking powder together in a bowl.

Set the bowl aside for the time being.

Action shot alert!  Cream the softened butter in a stand mixer.

Add the sugar to the butter and mix until its light and fluffy.

*not pictured* add the eggs one at a time, mixing well with each addition

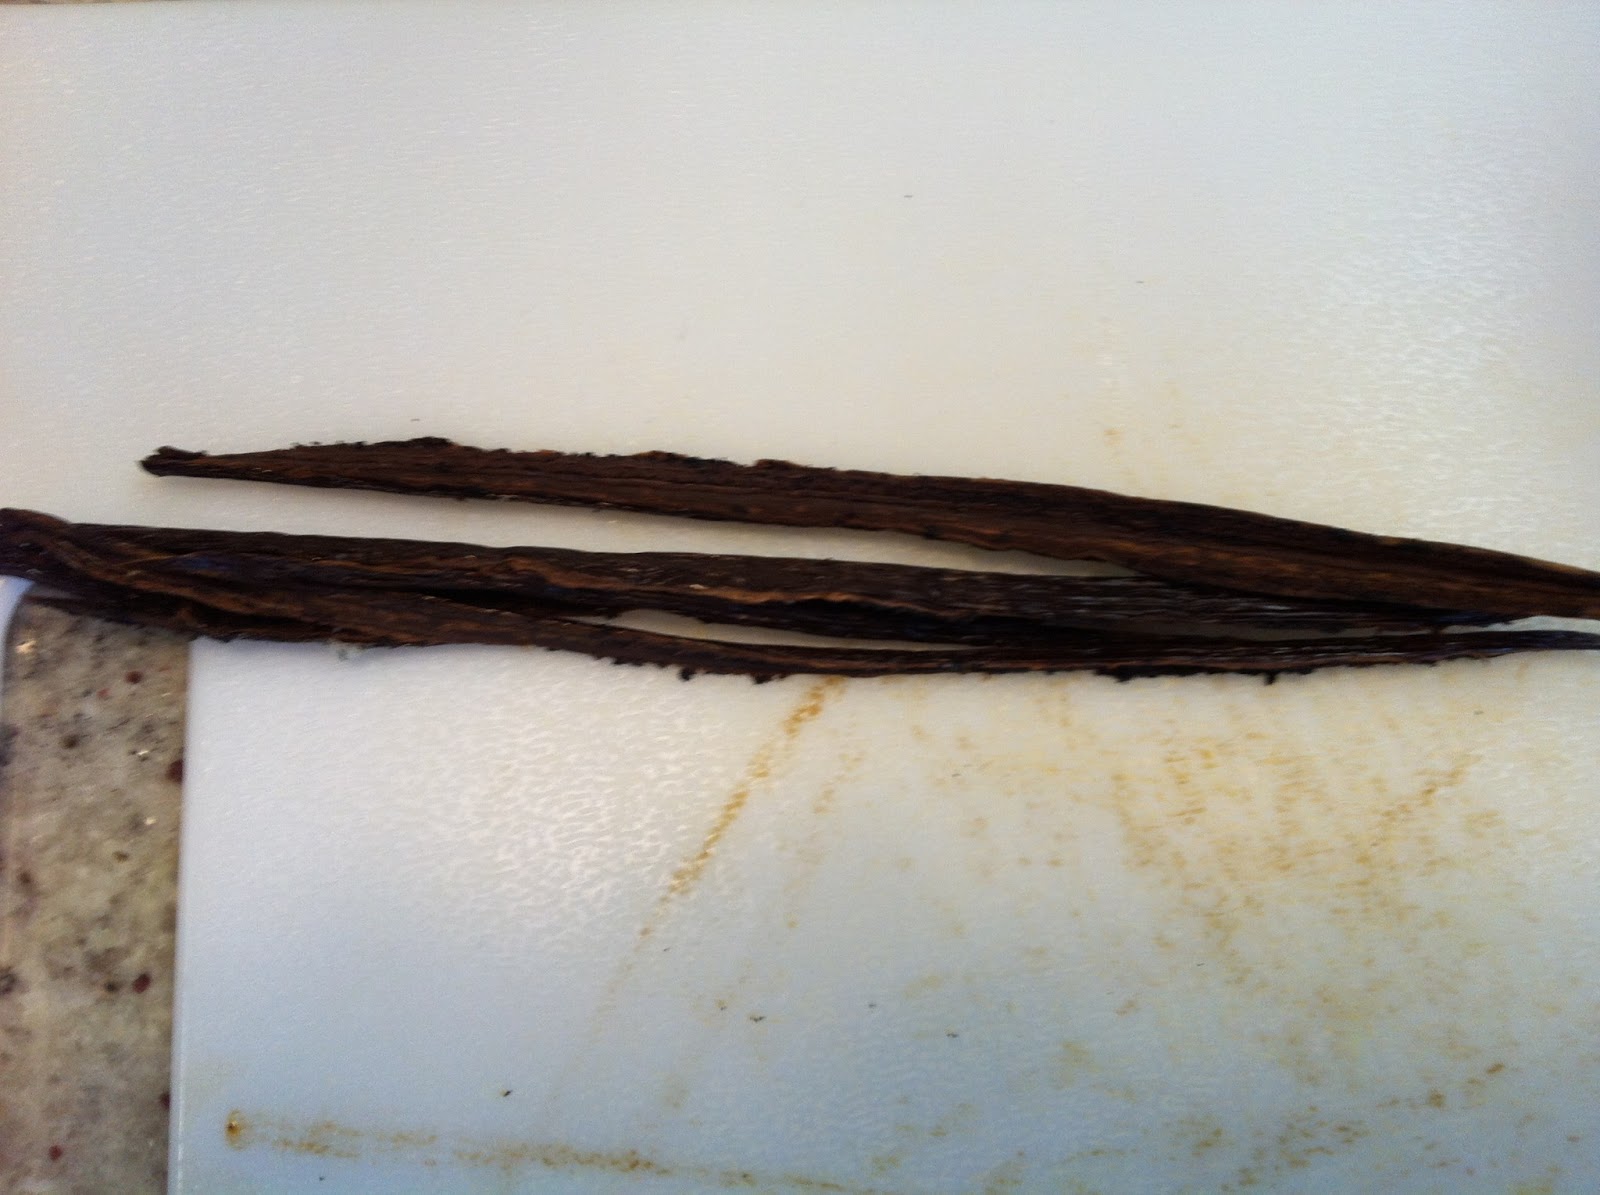
Slice the vanilla beans in half, lengthwise, and scrape out the caviar with the back of your knife.  Add all of the vanilla caviar to the egg, butter and sugar mixture.

See all the little vanilla specks?! That means it's gonna taste super yummy...

Alternate adding the flour and sour cream to the batter in small increments, starting and ending with flour.

The batter should end up smooth and thick and creamy and speckled.

Pour half of the batter into an oiled (or buttered) and floured tube pan (or bundt pan).

Sprinkle the diced peaches evenly on top of the batter.


Cover the peaches with the remaining cake batter.

Place the cake in the oven and set the timer for an hour.


While the cake is baking, you make the glaze to pour over the cake.
Take the reserved 1/2 Cup of peaches, and blend them in a food processor or blender until completely smooth.


Stir the puree through a mesh strainer to remove any excess pulp.

Place the peach juice/puree into a small saucepan with 1/2 stick (1/4 Cup) of butter and 2/3 Cup of sugar. Stir all ingredients together on medium heat until the butter melts and the sugar dissolves.  Remove the pan from the heat and add 1 Tbs of pure vanilla extract. 


After allowing the cake to cool in the pan for 10 minutes, turn it out onto a rack set over a sheet pan with raised edges.


Take your time brushing or spooning the glaze over the entire cake, allowing the syrup to soak in a little before spreading more.

Once the cake has cooled, it is ready to serve! 
Fresh whipped cream (only slightly sweetened) would make this even more decadent and beautiful.