Wednesday, June 12, 2013

Enjoy!


Ok y'all, I'm going to keep this post short and sweet... I think!  I just took a shower, and now I feel this burning desire to tell you all about the shampoo I use.  Strange? Probably, yes.

Oh well... I'm still going to tell you all about it. Lucky you!

About a year ago my MIL gifted me with a little kit of 5 different travel size Enjoy products: the hydrating shampoo and conditioner, the luxury shampoo and conditioner, and some kind of spray that I used as a de-tangler (idk what I was supposed to do with it, but it worked well for that!).  My MIL had built-up Enjoy products to be hair care superpowers, so when I tried the shampoo and conditioners, they had a lot to live up to.  They were even BETTER than I expected! I love it when that happens...


For me, the biggest merits of these products are as follows:

1) You can use less product for better results.  A little goes a long way (even with my long, dried out hair).  I used to buy the JUMBO sized bottles of other shampoos and conditioners because I went through them so quickly... definitely not the case here. I've been working on these bottles for over two months, and there is plenty of product left for another month or so.  Note: it took me awhile to get the hang of how little product I needed to get the job done... practice makes perfect!

2) My soft, smooth, healthy hair. Enough said.

3) The scents. I don't like an overpowering fragrance to my shampoo or conditioner.  All of the scents are nice and mild, but I am nuts over the Hydrating scent. So relaxing and lovely... not too floral or fruity. Perfection.

The price is slightly discouraging (around $25 a bottle, I think), but well worth the money. 

*Warning: It is pretty typical that as soon as I declare my loyalty to a product, it becomes impossible to find or completely discontinued.  I sincerely hope that won't be the case for Enjoy.  It's a tough life being a product junkie ;) 

Monday, June 10, 2013

Rum Cake

This is the other cake that I made today (my mother and I are trying to get a head start on cooking for our family reunion that is coming up this weekend). It's much simpler to make than the Peach Cake, but has even more nostalgia associated with it.

This is one of many original recipe cards written by my great-grandmother, ReRe. She became known for making this cake, and therefore transcribed the recipe (complete with the note about instant vanilla pudding mix: "the kind you don't cook") for many friends and family members.  I love this recipe so much that I baked about 100 miniature cakes to give away in the gift bags at our wedding last summer.  So, thanks ReRe for your awesome Rum Cake recipe.  I miss you!


Ingredients:
1 Box Yellow Cake Mix*
1 Box Vanilla Pudding Mix
1/2 Cup Rum
1/2 Cup Water
1/2 Cup Oil
3 Eggs

*the quantity in boxes of cake mix has decreased since ReRe first wrote this recipe, so I added an additional 1/3 Cup or so from another box of yellow cake mix I had on hand.  However, I think the cake would turn out just fine as is... I was just being cautious.

Preheat the oven to 350 Degrees.

Mix the cake mix and pudding mix together in a bowl with a whisk.  Stir in the rum, water, and oil.  Beat in the eggs one at a time, stirring well after each addition.

Pour the batter into a oiled (or buttered) and floured tube or bundt pan.  Bake for 50 minutes to an hour or when a toothpick inserted into the cake comes out clean.

While the cake is baking, make the rum glaze.


Ingredients:
1 stick (1/2 Cup) butter
2/3 Cup Rum
1/3 Cup Water
1 Cup Sugar

Place all ingredients in a saucepan and bring to a bubble over medium heat. Remove from heat.

After allowing the cake to cool for 10 minutes in the pan, turn it out onto a sheet pan with raised edges.

Poke small holes all over the top of the cake using a toothpick.  Slowly spoon the glaze over the top of the cake.  Allow to cool completely before serving.

*Note: This cake only gets better with time.  I always make it at least one or two days ahead of when I want to serve it.


Peach Cake

Two things:
1) This was my most successful attempt thus far at remembering to take process photos throughout a recipe... enjoy!
2) This cake is so incredible... enjoy!

Peel about 10 peaches, savoring the scent as you go... this reminds me of summers at my maternal grandparents' home in Greer, SC.  There are many peach orchards nearby, so nearly every morning when I would walk into the kitchen the sweet scent of freshly cut peaches would welcome me.  Basically, if you have yet to experience the fragrance of fresh peaches, y'all are missing out big time! 
Anyways, cut the fruit off of the pits.  Reserve 1/2 Cup of the peaches.


Dice up the rest of the peaches (should yield about 2 cups, give or take a little).


Now you have all of your ingredients for this lovely cake!
3 Cups Flour
1/2 tsp Baking Powder
1/2 tsp Baking Soda
2 Sticks (1 Cup) Butter
1 3/4 Cup Sugar
4 Eggs
2 Vanilla Beans (the caviar scraped out)
1 Cup Sour Cream
2 Cups Peaches

Preheat the oven to 350 Degrees.


Sift the flour, baking soda, and baking powder together in a bowl.

Set the bowl aside for the time being.

Action shot alert!  Cream the softened butter in a stand mixer.

Add the sugar to the butter and mix until its light and fluffy.

*not pictured* add the eggs one at a time, mixing well with each addition

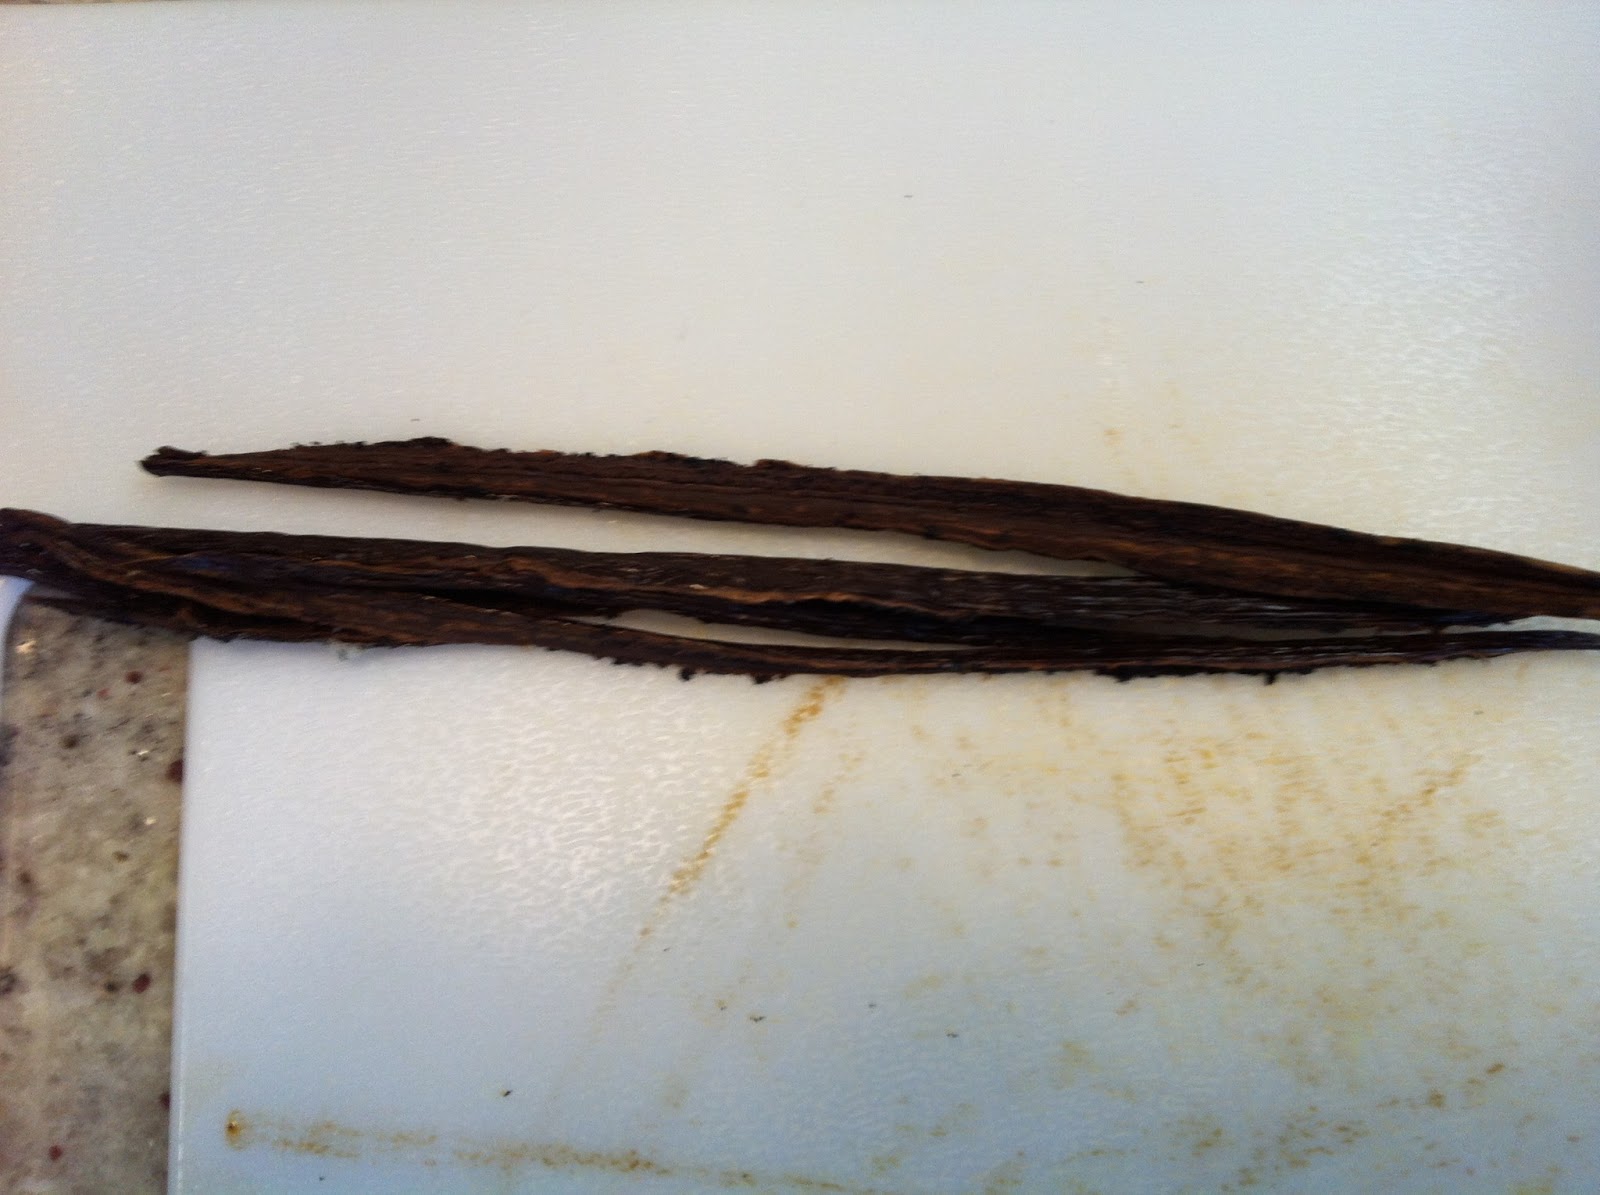
Slice the vanilla beans in half, lengthwise, and scrape out the caviar with the back of your knife.  Add all of the vanilla caviar to the egg, butter and sugar mixture.

See all the little vanilla specks?! That means it's gonna taste super yummy...

Alternate adding the flour and sour cream to the batter in small increments, starting and ending with flour.

The batter should end up smooth and thick and creamy and speckled.

Pour half of the batter into an oiled (or buttered) and floured tube pan (or bundt pan).

Sprinkle the diced peaches evenly on top of the batter.


Cover the peaches with the remaining cake batter.

Place the cake in the oven and set the timer for an hour.


While the cake is baking, you make the glaze to pour over the cake.
Take the reserved 1/2 Cup of peaches, and blend them in a food processor or blender until completely smooth.


Stir the puree through a mesh strainer to remove any excess pulp.

Place the peach juice/puree into a small saucepan with 1/2 stick (1/4 Cup) of butter and 2/3 Cup of sugar. Stir all ingredients together on medium heat until the butter melts and the sugar dissolves.  Remove the pan from the heat and add 1 Tbs of pure vanilla extract. 


After allowing the cake to cool in the pan for 10 minutes, turn it out onto a rack set over a sheet pan with raised edges.


Take your time brushing or spooning the glaze over the entire cake, allowing the syrup to soak in a little before spreading more.

Once the cake has cooled, it is ready to serve! 
Fresh whipped cream (only slightly sweetened) would make this even more decadent and beautiful.

Sunday, June 9, 2013

Glazed Summer Sausage

This is my go-to recipe for when my husband gets together with his friends, and last night (remember, the one where I made my awesome pasta salad?... I should really work on being less humble) was no exception.  It is so incredibly easy to make, but first I must clarify something.

For this recipe, you can use a summer sausage or a salami.  I've discovered that they are basically the same thing, but you don't want either of them if they are very 'hard' in description or texture.  They won't bake well and become all caramelized and delicious.  Hebrew National makes a good salami that I found at Trader Joe's when we were living in Bethesda.  Again, the important quality of the salami or summer sausage is that it isn't hard or dry. 


Preheat the oven to 325 degrees.

Slice the salami/summer sausage three-quarters of the way through. Each slice should be between an eighth to a quarter of an inch thick, depending on your preference.  I probably go with about a sixth of an inch slices most of the time.

Place the sliced salami/summer sausage on a foil lined baking sheet with raised edges (so the glaze doesn't spill over).

The Glaze:
1 Cup apricot jam
1/3 Cup dijon mustard
1/3 Cup brown sugar

Stir the three ingredients together. Carefully spoon the glaze over the salami/summer sausage, using your fingers to get it in between each slice.

Bake for 1 hour.  If you have time, you can baste the salami/summer sausage every twenty minutes while it's in the oven.  Allow to cool before serving with water crackers and cheddar cheese.

The Best Pasta Salad

Yesterday, my husband and I had some of his fellow medical student friends over to my parent's house to have dinner and hang out.  Because there was going to be about 15 of us total, we decided to just order pizza from a local place called Y Not.  It's close by, quick, and delish.  

However, I still wanted to have some other things on hand to snack on before the pizza arrived.  So I made a Glazed Summer Sausage, and a big batch of pasta salad inspired by this Pioneer Woman recipe. I must assert, though, mine is better!  I'm finished being humble now... here's how you make it.

The Dressing:
2/3 Cup of mayonnaise (or veganaise if you have it)
3 tsp white sugar
2 Tbs sweet and spicy pickle juice (plus more if needed to thin out the dressing)
1 Tbs red wine vinegar 

Whisk all the ingredients together.  Give it a taste.  Add sugar or pickle juice if it is 'missing' something.


Chop one purple/red onion

Chop up six of the sweet and spicy pickle spears (the same ones that you used the juice from in the dressing).  I used a brand called Famous Daves Signature Spicy Pickle Spears, and they were outstanding! I think it makes all the difference in the world to use yummy, flavorful pickles and pickle juice in this recipe.


Dice up two green bell peppers.  You could use any color you like, but I like the green ones in this salad.


Doesn't that look pretty? Pickles and onions and green pepper... yum.


 Next you toss it all together with cooked pasta that has had time to cool down.  I used Dreamfields Penne to up the nutritional value of this dish a little bit.  I probably used about 16 oz, which is slightly more than one box.  It is all about preference, though... You might want more veggies or more pasta or more dressing.  This ratio was pretty spot on for me (and our guests)! Enjoy!


Saturday, June 8, 2013

"Orange" Juice

This morning I am really craving a pick-me-up that doesn't come in the form of a caffeinated beverage.  I'm talking about juicing, people!! Just trust me, the little 'high' you get from your body absorbing all of those yummy vitamins is way better than any Starbucks fix (although who doesn't give in to their soy chai addiction every now and again... I guess that's my issue. Sorry, y'all!).

Getting back on track to juicing! If I was able to juice this morning, I would start off with an "orange" juice.  For those that are just starting to juice or wanting to begin juicing, I think this is a really good beginners juice.  My husband will even swap out his morning Indian River OJ for my version! This is saying something, y'all!


Recipe for "Orange" Juice

7 Large Carrots
1 Pear
1 Green Apple
5 Celery Stalks, with leaves
2 Oranges, peeled
1 Lemon, peeled
Ginger, to taste (Approx 1-2 Tbs)

Just some of the vitamins in this juicy goodness: A, B, C, E, Calcium, Iron, Folate, Thiamin, and Zinc.

Push everything through your juicer, in this order. Stir.

Makes enough for two servings that come in around 200 Calories each. Drink up with a Carrot Muffin, and you won't be hungry again for quite awhile... it is surprising how filling this juice can be!

This juice can be stored in a refrigerator for up to 2 days, but everything is better fresh.

So give it a try... your body will thank you!!

Thursday, June 6, 2013

Chess Pie

My husband and I were lucky enough to have dinner with some of my family tonight, so I thought I should share a tried and true family recipe.  More specifically my paternal Grandmother's recipe for Chess Pie.

For those not from the south, the name for Chess Pie is arbitrary.  There is no "chess" that goes into this pie, but my family still jokes about the "baby Chessies" that must ripen before pie can be made.  It is basically a buttermilk pie.  Somehow, my pie never turns out quite as good as Grandmother's (why is that always the case with passed-down recipes???), but it's a crowd pleaser none the less.


Ingredients:
1 Stick of Butter
1 1/2 Cups of Sugar
4 Tbs Flour
3 Eggs
1 Cup Buttermilk
1 Tsp Vanilla Extract (I'm a wild child with the vanilla and usually use 1 Tbs... don't tell Grandmother!)

Preheat oven to 350 degrees.

Cream butter and sugar.  Add flour. Whisk in eggs, then buttermilk and vanilla. Pour into prepared pie crust... today I used a refrigerated store bought (again, don't tell Grandmother!) one, but I would usually make my own.  Remind me to share that recipe someday...

Bake for 45 minutes to an hour... until the filling is no longer very jiggly.  Cool on a rack to room temperature  before serving.

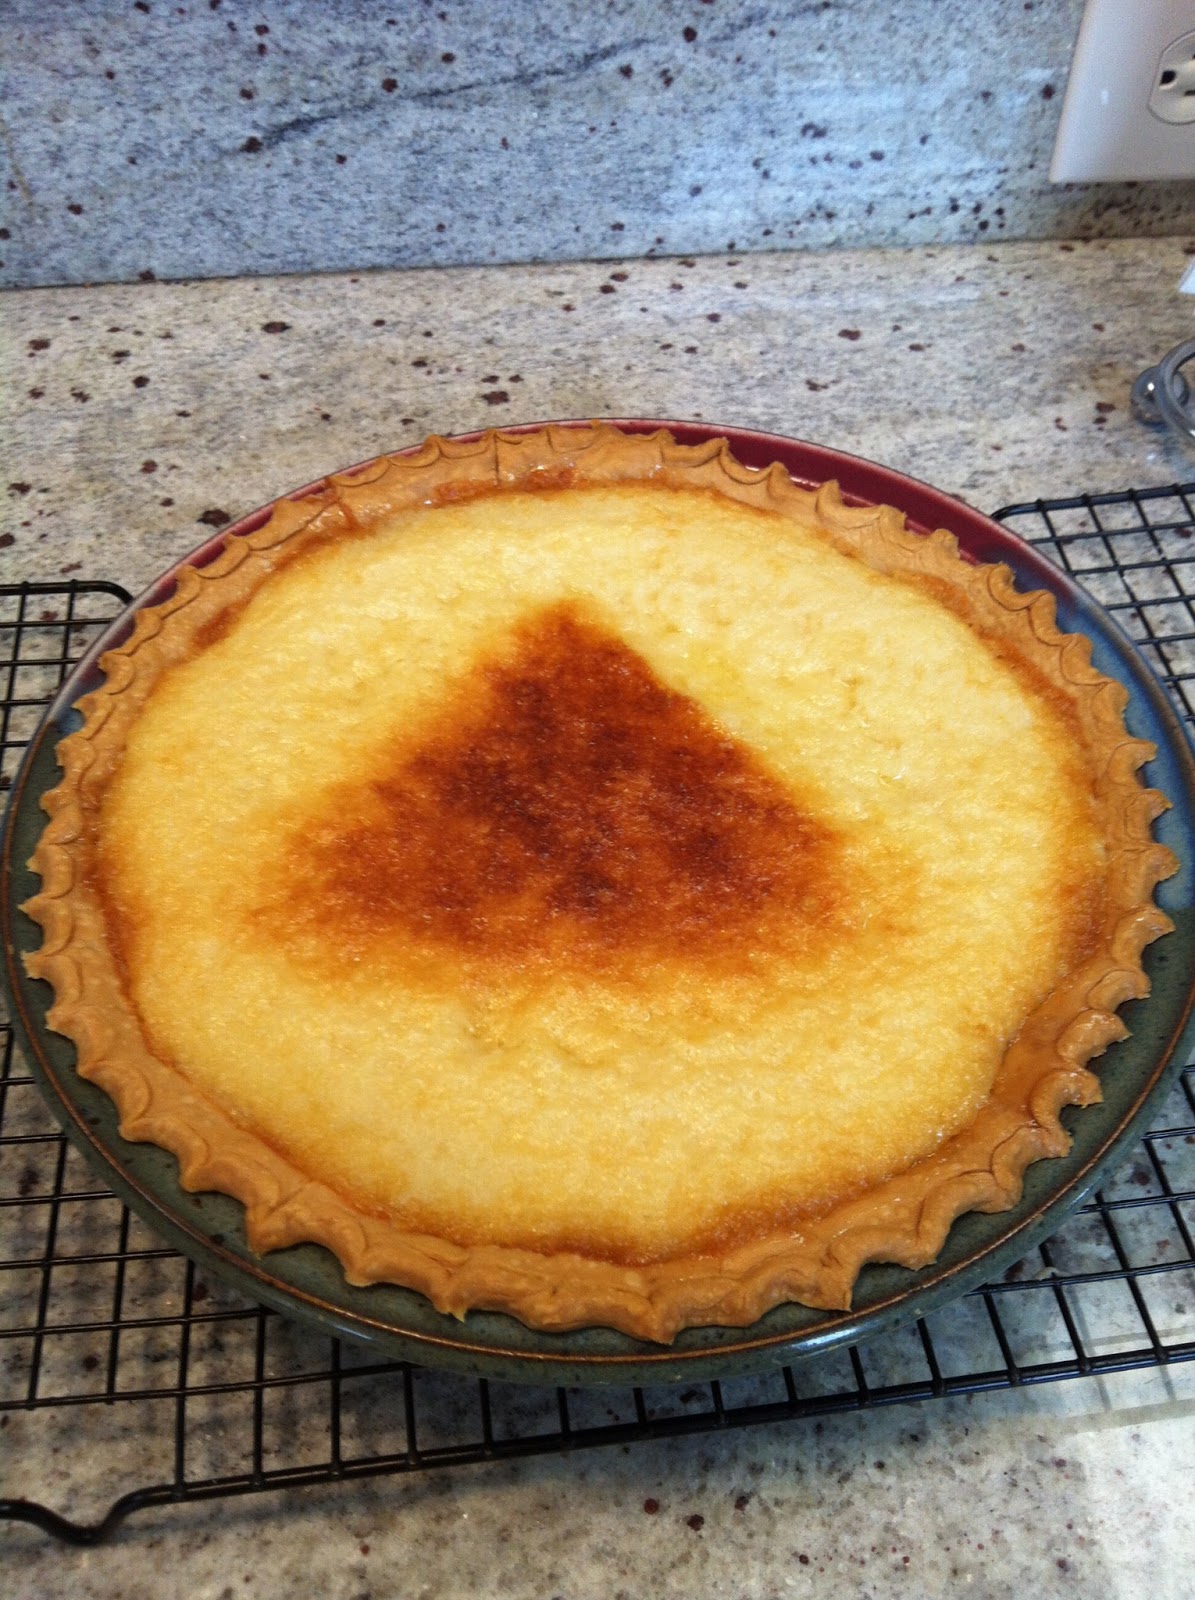
 Don't be like me... I was a little over-zealous with the tin foil that I used to protect the crust from burning.  Hence the 
triangle of browned pie filling in the middle.  No one eating the pie complained, though!


UPDATE:  I made another chess pie a few days ago, and it turned out much prettier than the one above.  Here's proof!

Actually, this one is only marginally prettier, but at least it doesn't have the "devil triangle" (my mother's description, not mine... I'm not entirely sure what is devilish about a triangle...) browned on the top like the other one!